
I’ve not been adjusting well to winter here in Maryland – and it’s been a mild winter. Mild until last weekend that is. I sure miss warm weather and Florida. I’m trying to make a brave front of it, and I’m going to embrace sailing on the Chesapeake in cold weather by making sure I dress warm. But I’m not sure I’ll ever love it. Did I mention how much I miss Florida?
This is what I woke up to last Sunday.

Plenty of snow
Winter storm Jonas visited us and gave us our first snow of the season. Mrs. CapnRehab was stuck at home by the storm without any project supplies and wound up extremely bored. She is a “slightly” energetic person, and in her enthusiasm to do something she decided to get outside and shovel snow. She did a great job on the sidewalk:
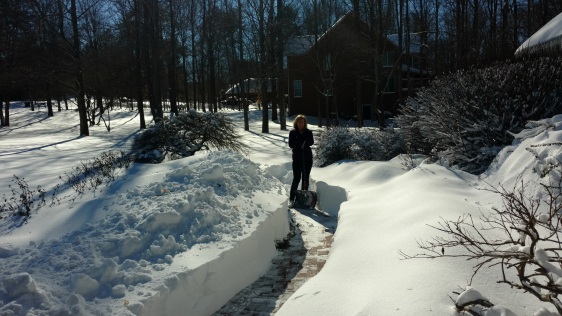
Mrs. CapnRehab – snow shoveling pro
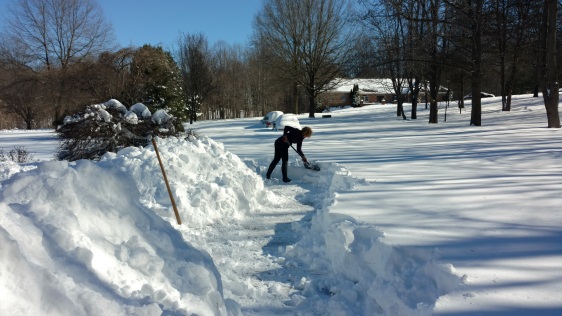
A snowplow driver usually stops by and I pay to plow the drive. This time I guess they were so busy they couldn’t bother with our street. Then she got the idea to shovel the whole 100+ foot driveway. She got me enrolled in the project, so we took turns with our one snow shovel. It was actually pretty nice to be out on a crisp sunny day, with the woman I love enjoying the time together. We didn’t need many layers because the shoveling kept us warm. Look at that smile! .

Getting started on the driveway
Note we need to go all the way past those buried cars to the street.
A little progress

A little more
These pictures don’t really do justice to how much shoveling we did. It was a lot! Naturally I forgot to take an “after” picture. Forgot to take a snow selfie too. See what winter does to me?
